")
No endless searching. No frustrating chatbots.
Just clear, available information right at your fingertips. And if you prefer a personal touch, simply give us a call. We’re always happy to help.


Register Today
Special Guest PresenterAmy Johnson, Medicare Sales Leader, My Benefit Advisor, LLCTuesday, July 15, 2025 | 10:00 AM PT
Medicare Simplified:
An Overview
for Employers and Benefit
Administrators
WE'RE IN WEBINAR MODE
Thursday, July 24, 2025 | 10:00 AM PT
Special Guest Presenter: Robert Campbell,E-Comp Vice President, Partner Strategy

Register Today
The Benefits of Pay-As-You-GoWorkers’ Comp &
Workers’ Comp Basics
SUMMER WEBINAR SERIES
WE'RE IN WEBINAR MODE
Client Referral Program
Submit a Referral
for every new business
you successfully refer.
Refer a new business client and earn rewards
THAT'S REWARD MODE
E-Comp Vice President, Partner Strategy
Tuesday, August 26, 2025 | 10:00 AM PT
Register Today
Ways to Control and Reducethe Cost of Workers’ Compensation and Managing Workplace Safety
SUMMER WEBINAR SERIES
WE'RE IN WEBINAR MODE
Register Today
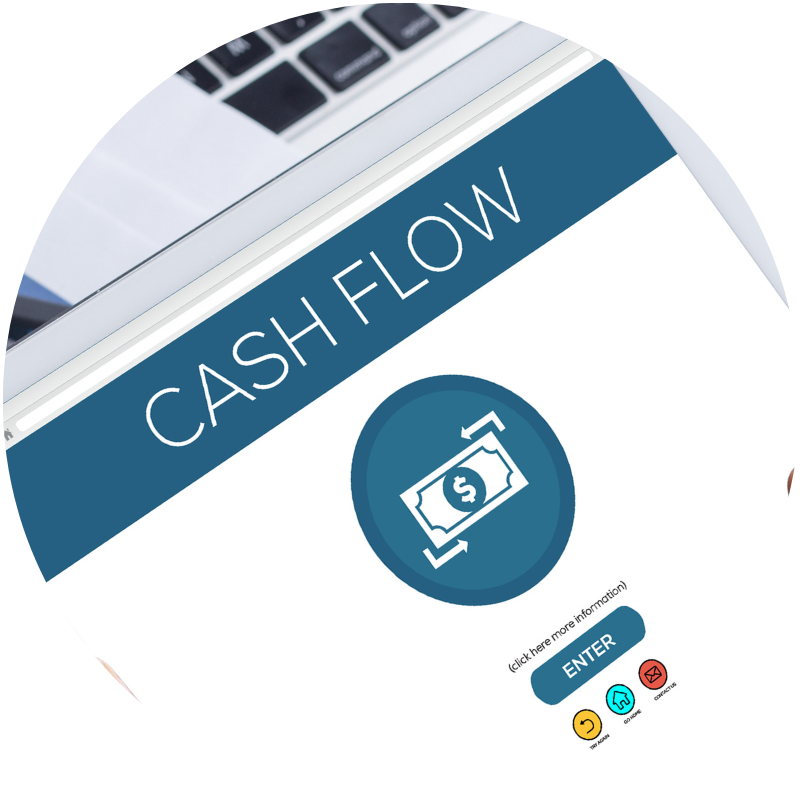
Special Guest PresenterGreg Javins, Payro Chief Revenue OfficerTuesday, September 9, 2025
10:00 AM PT
Simplify Payroll, Strengthen
Cash Flow: How Payro Helps
Cover Payroll
WE'RE IN WEBINAR MODE
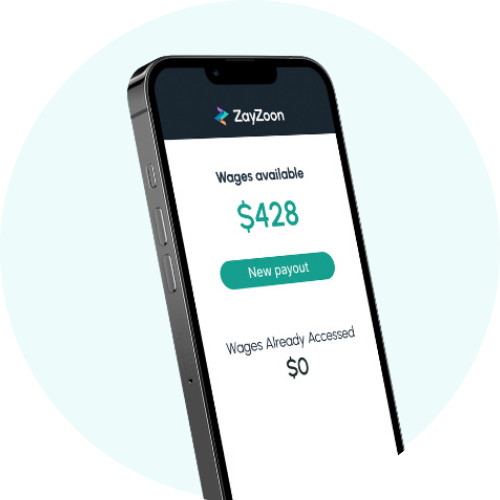
Earned Wage Access
No waiting for payday.
Just fast, easy access with
no interest fees or credit checks.
Finally, a payroll partner that enables businesses to give employees instant access to their earned wages.
Get Started
PAYROLL IN EARNED WAGES MODE
regulations.
Labor Law Posters
Finally, a payroll partner with
hassle-free access to labor law posters.

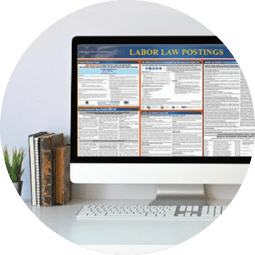
Learn More
WE'RE IN COMPLIANCE MODE


Earned Wage Access
• Activation in 30 minutes or less
• Full financial empowerment platform
• Funds sent directly to your employee’s
bank account in seconds
Integrated seamlessly with
your Payentry Payroll
Learn more and get started
PAYROLL IN EARNED WAGE MODE
Just a trusted partner to help your
business maintain payroll and HR
compliance proactively.
>
Finally, a Human Capital Management partner who delivers accessible,
personalized support.
HR Services
Let's Talk
WE'RE IN HCM MODE
No separate providers to manage.
Just one easy, efficient solution
that saves time and works effortlessly.
Finally, a perfectly integrated benefits
management system.
Employee Navigator
Explore
PAYROLL IN NAVIGATOR MODE

Retirement Plan Services
No manual updates.
Just a comprehensive solution to
help businesses and employees save
for retirement.
Finally, a fully integrated benefits
management system.
Learn More
WE'RE IN PLANNING MODE
Employer Resources
Year End
Online Tax Forms
Federal Tax Forms
Payroll Forms
Payentry NextGen
Connect
QuickBooks Online with Payentry Integration Documentation
Managing My Payentry Access
- Adding the MyPayentry Service
- Enabling MyPayentry for Employees
- Customizing Your Company’s MyPayentry